Humidifiers are fantastic devices for maintaining indoor air quality, especially during dry seasons.
However, they can become breeding grounds for mold and bacteria if not properly maintained. Regular cleaning ensures the air you breathe remains clean and healthy.
Gathering Your Supplies: What You’ll Need
Before cleaning your humidifier with vinegar, it is crucial to gather all necessary supplies to ensure a thorough and efficient process.
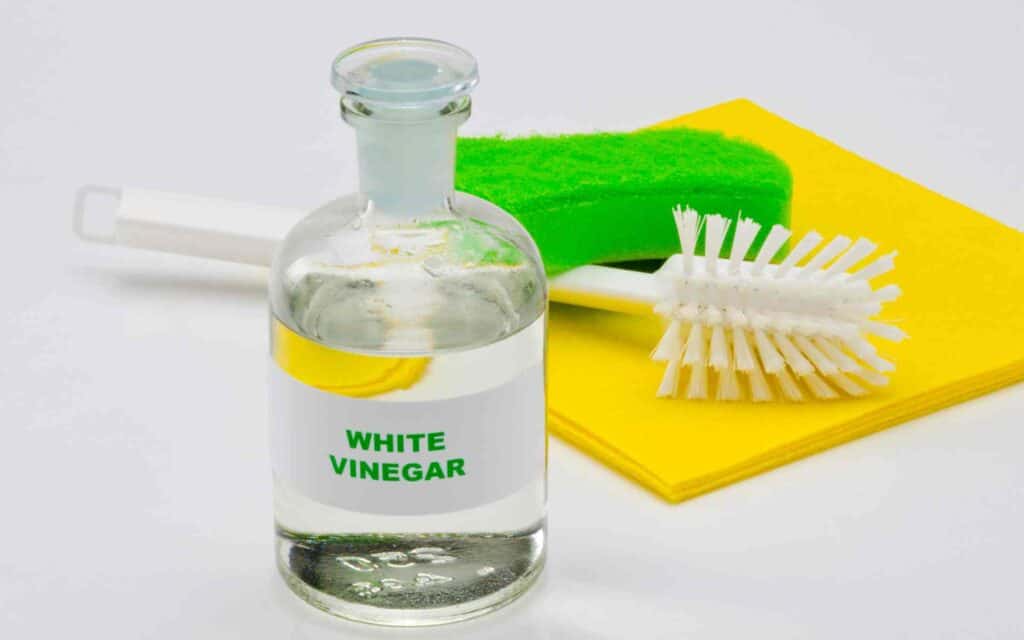
The primary ingredient required for this cleaning method is white vinegar, known for its natural disinfectant properties.
You will also need water to dilute the vinegar and rinse the humidifier components post-cleaning.
A soft brush or cloth is essential to remove any buildup or residue. For those hard-to-reach areas, a small bottle brush can be handy.
While cleaning is generally safe, some individuals may prefer protective gear such as gloves and goggles to avoid direct contact with vinegar, which can irritate the skin and eyes.
Ensuring you have all these items on hand before you begin will streamline the cleaning process.
These supplies are easily accessible and can be purchased at local grocery stores, hardware stores, or online retailers.
White vinegar is available in most supermarkets’ cleaning supplies or condiments aisle. Soft brushes, cloths, and small bottle brushes can typically be found in the cleaning section.
If opting for protective gear, gloves, and goggles are usually available in stores’ home improvement or safety equipment sections.
How to Clean Humidifier With Vinegar?
Preparing your cleaning space is another vital step. Choose a well-ventilated area with ample lighting to facilitate the cleaning process.
Lay down old newspapers or a plastic sheet to protect surfaces from potential spills or splashes.
Having a designated space for cleaning will help keep the process organized and efficient, ensuring all humidifier components are effectively sanitized.
This foundational step enhances the cleaning process’s effectiveness and ensures a smooth and hassle-free experience.
Step-by-Step Guide to Cleaning Your Humidifier with Vinegar:
Step 1: Disassemble the Humidifier
Begin by unplugging the humidifier and carefully disassembling it. Remove the water tank and any other detachable parts.
Empty any remaining water from the tank and base, ensuring all components are separated for thorough cleaning.
Step 2: Prepare the Vinegar Solution
Mix a cleaning solution using equal parts of white vinegar and water. Typically, a 1:1 ratio works best.
For instance, combine one cup of vinegar with one cup of water in a clean container. This solution will effectively break down mineral deposits and disinfect the humidifier parts.
Step 3: Soak the Parts
Place the water tank, base, and other detachable components in the vinegar solution. Allow them to soak for at least 30 minutes to ensure the vinegar can penetrate and dissolve any buildup. For stubborn deposits, consider soaking for up to an hour.
Step 4: Scrub the Parts
After soaking, gently scrub the humidifier parts with a soft brush or cloth. Pay special attention to areas with visible mineral deposits or mold.
The vinegar solution should have loosened any grime, making removing it easier.
Step 5: Rinse Thoroughly
Once all parts are scrubbed clean, rinse them thoroughly with fresh water. Ensure no vinegar residue remains, as it could affect the humidifier’s performance and produce an unpleasant odor when the device is in use.
Step 6: Dry and Reassemble
After rinsing, dry all components with a clean cloth or allow them to air dry completely. Once dry, reassemble the humidifier, ensuring all parts are securely in place. Your humidifier is now clean and ready for use.
Why Regularly Cleaning Your Humidifier is Important
Maintaining a clean humidifier is crucial for ensuring a healthy living environment. Humidifiers are designed to add moisture to the air, alleviating symptoms of dry skin, irritated throat, and respiratory issues.
No products found.
However, if not properly cleaned, these devices can become breeding grounds for mold, bacteria, and allergens, posing significant health risks.
Regular cleaning of your humidifier helps to prevent the spread of these harmful contaminants, ensuring that the air you breathe remains safe and clean.
Using a dirty humidifier can lead to various health complications, particularly for individuals with asthma or allergies.
Mold and bacteria can accumulate in the water tank and other components, and when the humidifier is in operation, these microorganisms can be dispersed into the air.
This can exacerbate respiratory problems and trigger allergic reactions, making adhering to a regular cleaning schedule essential.
In addition to health benefits, regularly cleaning your humidifier can extend the device’s lifespan.
Mineral deposits from the water can build up over time, clogging the system and reducing efficiency.
You remove these deposits by routinely cleaning the humidifier, ensuring that the device operates smoothly and effectively.
This enhances the humidifier’s performance and minimizes the need for costly repairs or replacements.
Several signs indicate it’s time to clean your humidifier. If you notice a musty odor emanating from the device, visible mold growth, or a decrease in mist output, these are clear indicators that cleaning is overdue.
Additionally, if you experience a sudden onset of allergy-like symptoms or respiratory discomfort may be due to contaminants from a dirty humidifier.
In conclusion, regularly cleaning your humidifier cannot be overstated. It ensures a healthy environment, prolongs the device’s life, and maintains optimal performance.
Maintaining Your Humidifier: Tips for Long-Term Care
To ensure your humidifier remains efficient and hygienic, adhering to a regular maintenance routine is crucial.
Establishing a cleaning schedule, such as weekly or biweekly, can significantly extend the lifespan of your appliance and ensure optimal performance.
Consistent cleaning prevents the buildup of mold, bacteria, and other contaminants that can compromise air quality and potentially harm your health.
Distilled water is one of the most effective methods for reducing mineral buildup in your humidifier.
Unlike tap water, distilled water contains minimal mineral content, thus preventing the white dust and scale deposits that can accumulate over time.
This simple switch can save you from frequent deep cleaning sessions and improve the overall efficiency of your humidifier.
Regularly replacing parts like filters is another essential aspect of humidifier maintenance. Filters play a key role in removing impurities from the water before they are dispersed into the air.
Over time, these filters can become clogged or less effective, necessitating their replacement. Consult your humidifier’s user manual for the recommended frequency of filter changes, as this can vary by model and usage intensity.
Adhering to manufacturer-specific maintenance recommendations is equally important. Each humidifier model may have unique requirements, so it is vital to familiarize yourself with these guidelines to ensure proper care.
This may include specific cleaning agents, disassembly instructions, or usage limitations. Following these recommendations can prevent the warranty from being voided and extend the operational life of your device.
Proper storage is essential to maintain its condition when your humidifier is not in use. Ensure the unit is thoroughly cleaned and completely dry before storing it in a cool, dry place.
This prevents mold and mildew growth, which can occur if residual moisture is left inside the device.
Additionally, storing the humidifier in its original packaging can provide extra protection against dust and damage.